Self-hosting an Anki server on Raspberry Pi#
Anki is a popular flashcard application built around spaced repetition, a learning method that helps you review information at the right time to improve long-term memory. It is widely used for language learning, exams, and any subject where steady review matters.
One reason Anki is so useful is that it is not limited to plain text. You can build cards with images, audio, your own voice recordings, and even video-based material, which makes it especially effective for language learning, listening practice, visual memory, and other media-rich study workflows. Just as important, Anki lets you build your own decks to match your own needs. You are not limited to ready-made learning material from other people. You can create your own cards, organize them in your own way, and gradually build a study system that fits exactly what you want to learn.
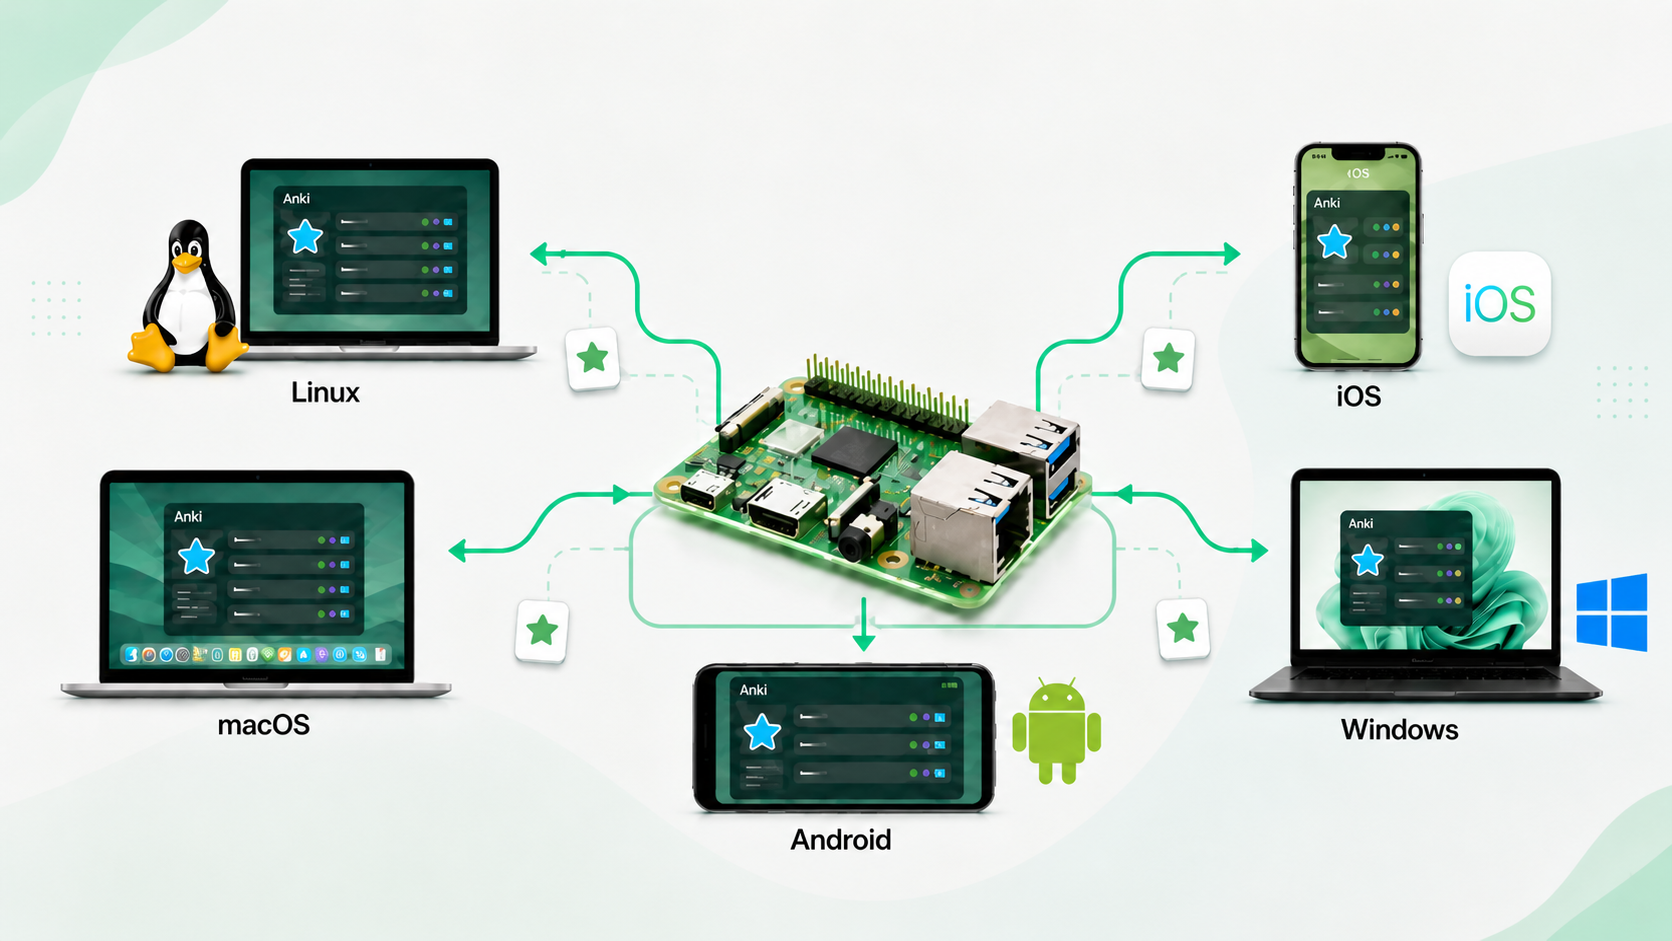
If you use Anki every day, relying on a third-party sync service may feel limiting when you want full control over your own study data. Running your own Anki sync server is a practical way to keep your decks private, manage backups yourself, and sync smoothly across multiple devices. In this article, I show how to set up a self-hosted Anki server on a Raspberry Pi, then connect Linux and iOS clients so you can study and sync your cards from anywhere on your own system.
Before you start, you only need a few things: a Raspberry Pi connected to your network, Anki installed on your client devices, and a stable local IP address for the server. If you can already SSH into your Raspberry Pi, you are ready for the setup.
Server on Raspberry Pi#
Create a Python environment for the Anki server:
sudo apt update
sudo apt install python3 python3-venv

python3 -m venv ~/anki-syncserver
~/anki-syncserver/bin/pip install anki
Create a data folder to store your sync data:
mkdir -p ~/anki-sync-data
Check the local IP address of the server:
ifconfig
Suppose the IP address is xxx.xxx.xxx.xxx. Save it, because you will need it later.
Run the server:
SYNC_USER1=YOURNAME:YOURPASSWORD \
SYNC_BASE=$HOME/anki-sync-data \
SYNC_HOST=0.0.0.0 \
SYNC_PORT=8080 \
~/anki-syncserver/bin/python -m anki.syncserver
Save your username and password for later use. The official Anki manual includes additional setup options and notes on networking, reverse proxies, and multi-user configuration [1].
Settings on clients#
Install lame if you want to record audio for your cards.
sudo apt install lame
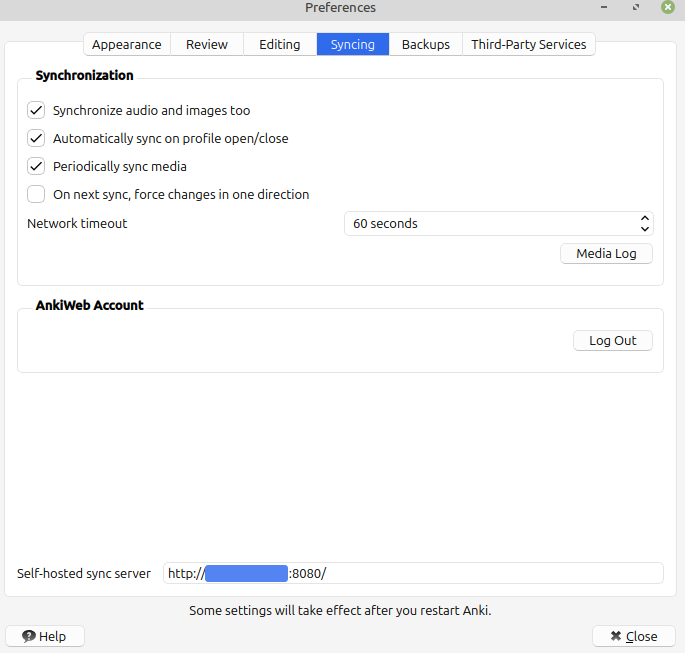
Press Ctrl+P to open Preferences, go to the Sync tab, and enter the self-hosted sync server address at the bottom:
http://xxx.xxx.xxx.xxx:8080/
Here, xxx.xxx.xxx.xxx is the IP address of your server.
If your devices are on the same local network, this address should work directly. If you want to access your Anki server from outside your home network, it is better to use a reverse proxy, VPN, or another secure access method instead of exposing the port directly to the internet.
Tip
The first time you click Synchronize, Anki will ask you to sign in with an email address and password. This can be confusing. Because you are using your own sync server instead of AnkiWeb, you do not need your AnkiWeb email here. Instead, enter the YOURNAME and YOURPASSWORD values that you used in the server configuration.
The setup is the same if you use Anki on iOS or Android.
Auto start the Anki server#
To avoid starting the server manually every time, you can configure it to start automatically.
sudo vi /etc/systemd/system/anki-syncserver.service
[Unit]
Description=Anki Self-Hosted Sync Server
After=network.target

[Service]
Type=simple
User=jie
Environment=SYNC_USER1=YOURNAME:YOURPASSWORD
Environment=SYNC_BASE=/home/jie/anki-sync-data
Environment=SYNC_HOST=0.0.0.0
Environment=SYNC_PORT=8080
ExecStart=/home/jie/anki-syncserver/bin/python -m anki.syncserver
Restart=on-failure

[Install]
WantedBy=multi-user.target
Enable and start the service:
sudo systemctl daemon-reload
sudo systemctl enable --now anki-syncserver
sudo systemctl status anki-syncserver
You should see output similar to this:
● anki-syncserver.service - Anki Self-Hosted Sync Server
     Loaded: loaded (/etc/systemd/system/anki-syncserver.service; enabled; preset: enabled)
     Active: active (running) since Sun 2026-05-03 22:38:30 EEST; 5s ago
 Invocation: 3a24b3a3c12e47558ff3f430ca45c2ca
   Main PID: 2444 (python)
      Tasks: 5 (limit: 9575)
        CPU: 450ms
     CGroup: /system.slice/anki-syncserver.service
             └─2444 /home/jie/anki-syncserver/bin/python -m anki.syncserver

May 03 22:38:30 zhuque-01 systemd[1]: Started anki-syncserver.service - Anki Self-Hosted Sync Server.
May 03 22:38:31 zhuque-01 python[2444]: 2026-05-03T19:38:31.373484Z  INFO listening addr=0.0.0.0:8080
Summary#
At this point, you have a lightweight Anki sync server running on a Raspberry Pi, a client configuration that works on Linux and mobile devices, and a systemd service that starts everything automatically after reboot. The result is simple and practical: your cards stay under your control, and your study workflow becomes a little more independent. It is a small project, but it is satisfying. Your Raspberry Pi is no longer just sitting there on the shelf; now it is helping you remember things.
References#
Ankitects. Self-hosted sync server. https://docs.ankiweb.net/sync-server.html, 2026. Anki Manual. Accessed: 2026-05-04.